
Now the fun part--taking five rectangles of fabric (back, two sides of the skirt and two fronts) and folding them to make one of the most gorgeous dress styles ever.
Please remember, this is just one way to do it. These were all custom draped--there's no one exact way to do this. If you end up with something pretty, you've probably done it right :)
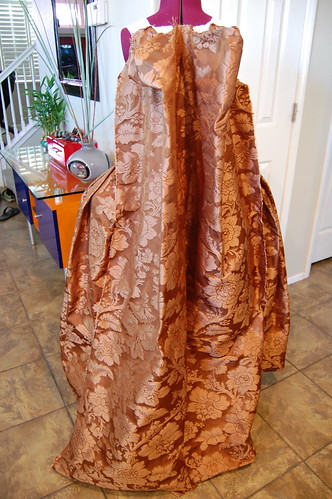
And now the back draping!
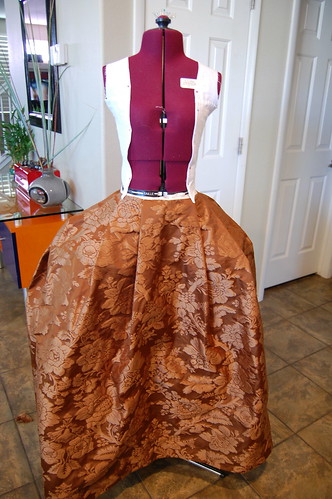
Start out by dressing your dress form. This is to give the general silhouette of the finished dress. The petticoat does sit lower than my waist does, but that doesn't really affect the final dress.

Secure your fabric to the dressform. The top edge should be even with the seam allowance of the shoulder pieces.
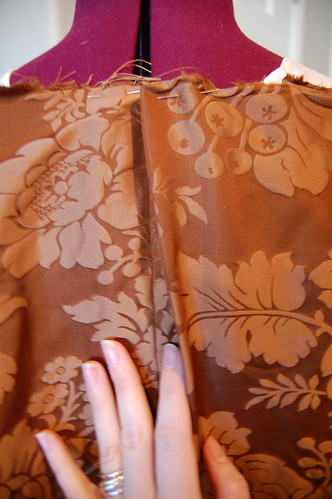
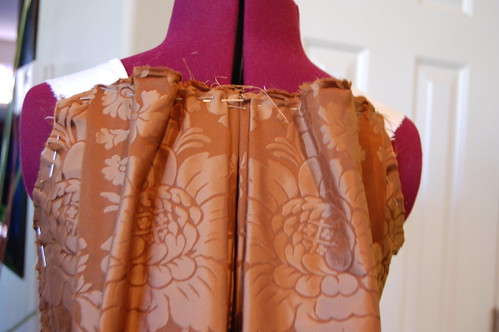
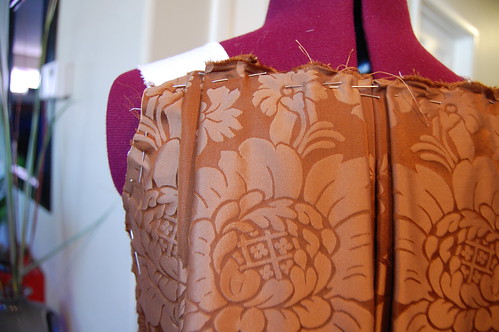
Next, make a pleat facing the center back. How deep you make it depends on your fabric and how wide you want your back pleats to be. It doesn't have to be very deep.
The goal is to have two stacked box pleats falling from the shoulders. Look at pattern drafts to get an understanding of how measurements and the number of pleats that go into the stacked box pleats vary.


Repeat that pleat on the other side.
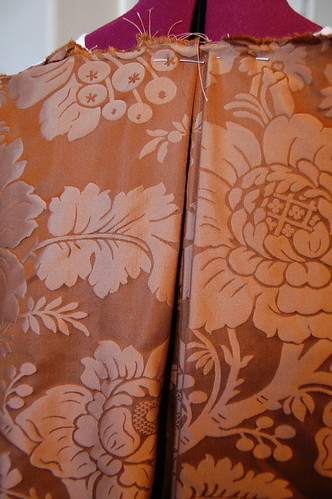
Make another pleat on top of your first pleat. A little of the first pleat should still show.

Repeat that pleat.
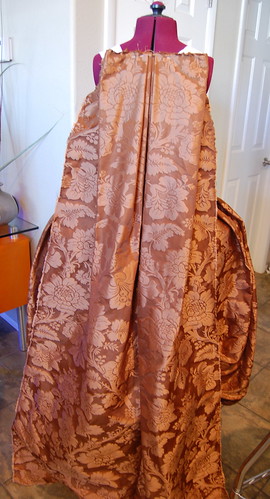
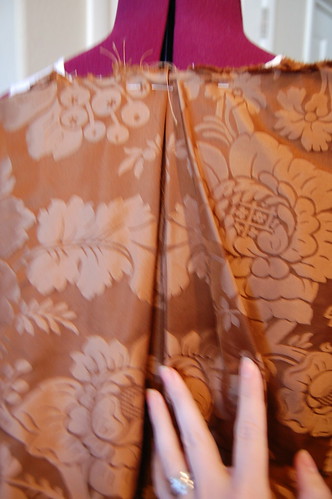
The dress is already starting to take form!
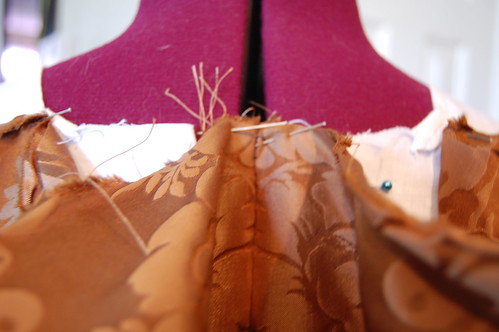
The pleats are still a little too wide at the shoulders--the same pleating technique will be used on the outside edges next.
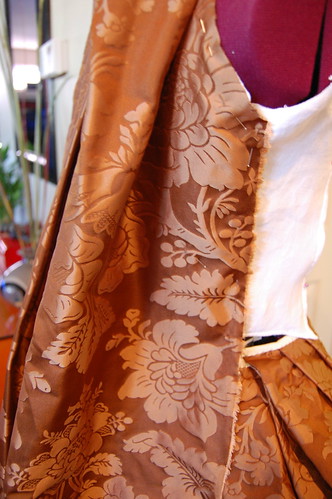
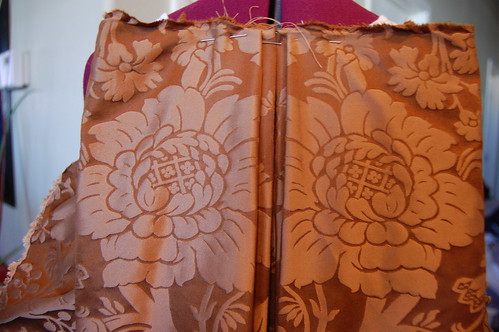
Before making the outer pleats, smooth and pin the sides of the dress.
Pleat the extra fabric at the shoulders. Decide how wide you want the back pleats and form the first pleat there. Then make a second pleat on top of that. Like before, let a little of the first pleat show. This part just takes a little fiddling--it's really quite easy though!

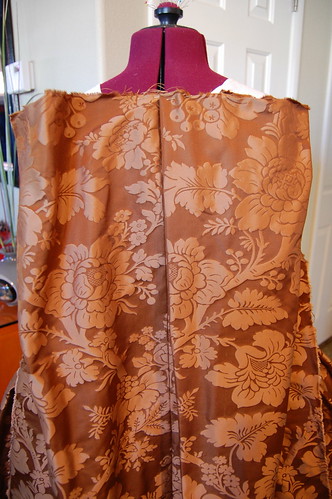
Pin the finished pleats into place.
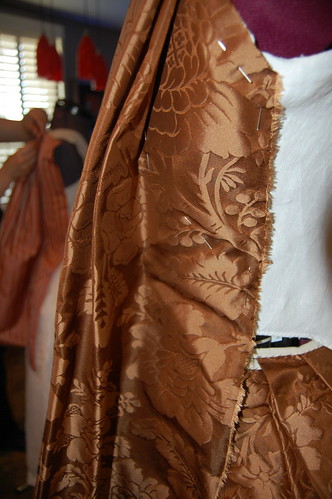
To keep the back pleats neat and the back of the bodice smooth, pin underneath the bottom of the pleats. This should run vertically. Without stitching here, the entire back, not just the pleats, will flow away from the lining and it won't look very attractive. Be careful to not pin too deep, or it will pull the second pleat under the first. Just smooth it and adjust until you're happy with it. Again, refer to pattern drafts to see how this was done on originals.
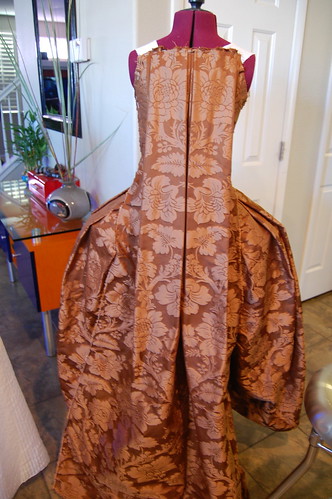
And the back is done!
Next up, the side seams :)
And if you're wondering where the fireplace that seems to be in so many of my pictures is, no, I haven't moved--I was at a friend's house. This also explains the lack of cats!
Great tutorial!
ReplyDeleteLove seeing your in-progress photos!
ReplyDeleteVal
Aye, this is great! :)
ReplyDeleteMultumesc pentru prezentare, un model deosebit dificil de executat, felicitari!
ReplyDelete